
The original 1977 delay timer charged a capacitor inside the module. The amount of time the timer stayed on was determined by how long you had the door open (to a maxiumn time)
Another unusual factor with the 77 delay timer was that unlike the 1978 and later cars, when you turned on the ignition switch key the lamp did not turn off. The 1977 Corvettes with ZX2 option depended on the capacitor bleeding off regardless of whether the key was turned on or not to turn out the lamps. The amount of delay was determined by how long the doors were open and how long the capacitor was charged.
Unfortunately, to replace the timer you are required to remove the left hand dash pad. This product is only designed for cars that already have the delay timer option ZX2, and out of the 49,213 cars produced in 1977, 40,872 of them came with this option. If you do not have this option, do not purchase this item. While all cars had a jump connector (male and female) right on top of the main dash harness, this kit doesn’t come with the jumper harness to install it on a car without this option. The original timer was a metal can design, and when purchased over the counter, it came with the jumper harness to add this option to any car. Our timer won’t come with this jumper harness, and this is why we say this is only for a car with the existing ZX2 option.
If you don't have this option on your car, do not purchase this item, you won't have the wiring in your car.
Installation:
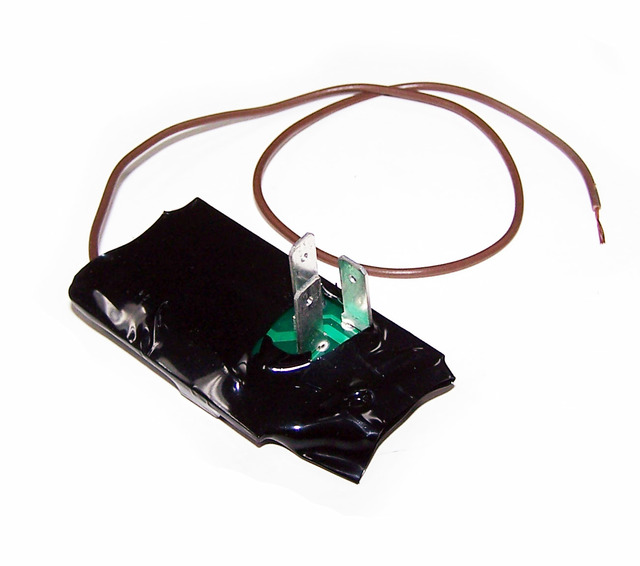
The original metal can is taped to the dash harness above the speedometer & tachometer & had a ground wire attached to it, and this ground went to the A pillar as shown in the picture below. You then plugged the timer into the timer connector, taped it to the dash main harness behind the dash pad, and you were set. On our board, all the electronic components are shrink wrapped in a thick vinyl and loaded on the top side so there will not be any wearing against the main dash harness. When installing our timer, you’ll need to butt connect (or solder) the timer ground wire to the existing ground and then plug it into the original connector. It’s that simple.